Showing posts with label Repurposed. Show all posts

Monday, May 23, 2011

Making use of a sled in summertime!

We were lucky to finally have some sunny weather this weekend after days weeks of rain. We went to a farm festival on Saturday morning where we heard lots of fun music, slid down loooooong homemade slides and ate way too much junk food. It was a BLAST! :)

When we got home, SweetPea asked me for a bucket so she could play with the new rubber duck she got (for free ~ that's my girl! ;) at the festival. I knew I would have to find something big enough for both the girls to play with, so I rummaged around in the garage and found...

...a sled!

Perfect!

Yes, you read that right... I said a SLED. It was just deep enough to make a good 'pond' for the rubber ducks and long enough to allow both girls to play together. They thought it was the greatest idea and had so much fun!

Use a sled as a makeshift water table in the summer!

Of course, Boogey was being a typical Boogey and soon decided it would be much more fun to add some dirt to the mix... That girl loves to make a mess! Here is what the sled looked like when they were done...


Muddy water is so much more fun!

But they sure had fun - mud and all! And I love the fact that I was able to cross over seasons with this sled! {more bang for the buck!} We'll definitely be doing this activity again!

Have you ever found a way to re-purpose a "winter" toy in the summer?


Linked up to these parties:
House of Hepworths
Somewhat Simple
Mommas Kinda Crafty
While He Was Napping
Fingerprints on the Fridge
Tidy Mom
Truly Lovely


Pin It!

Sunday, January 23, 2011

Recycled Crayons

So I was alone with my girls last weekend. The Heela had to work both Saturday and Sunday so it made for a lot of "girl time" for SweetPea, Boogey and me. On Saturday, after taking them to the eye doctor to pick up my new glasses, letting them play in the mall playground for 20 minutes, buying them each 3 rides on the Bob the Builder riding thingy, sugaring them up with a bright blue ICEE and trudging them through  ToysRUs to find a present for an upcoming birthday party... I brought them home and immediately sent them upstairs for some quiet time. Frankly, I'm not sure who needed it more - them or me! ;)

Boogey slept right through lunch and didn't come down for over 2 hours! That girl was wiped out! (despite being 3, she still loves her naptime). But SweetPea (who recently turned 4 and is pretty much "over" naps) showed up in the TV room after about 30 minutes. *sigh*. I convinced her to occupy herself for another 15 minutes or so by reading books. Then we went 2 rounds at HiHoCherry-O! and once on the Ladybug Game. Then... she was bored.

"Mommy.... I'm booooooorrrrrrrreeeeeedddddd".


I'm sure more than a few of you are familiar with that lovely whine.

I know she loves to do crafts so I was about to take her downstairs to dig something out of the "Craft Box". Then I spotted this on the floor... our BIG box 'o' crayons.

This box is 13" x 7" - it is an understatement to say these girls have a ridiculous amount of crayons!

I've seen many blog posts out there about "recycling" old crayons so I thought... why not?... let's go for it!

So I dumped out all the crayons onto the floor and SweetPea and I picked out all of the broken pieces, then set about to peel off all the wrappers. 

Thankfully, I wasn't ruining a good manicure with all this peeling. (haha!)

Big pile 'o' wrappers!

We worked, for the most part, in quietude and I was impressed with how diligently SweetPea was working on this project.


We then separated our unwrapped crayons into similar color piles.

Before
After

Next we broke the crayons into small(er) pieces and placed them into some silicone cupcake liners that I bought about a year ago in the dollar bins at Target.


Initially I put them in the oven at 170 degrees for about 15 minutes since that is what the first website I googled indicated (it actually said to heat the oven to 150 but our oven won't go any lower than 170). But after an additional 5 minutes, the crayons had barely softened, let alone melted. So I googled a few more articles and they all indicate you should use a 300 degree oven for about 10 minutes. So I cranked up the heat and waited a bit more.

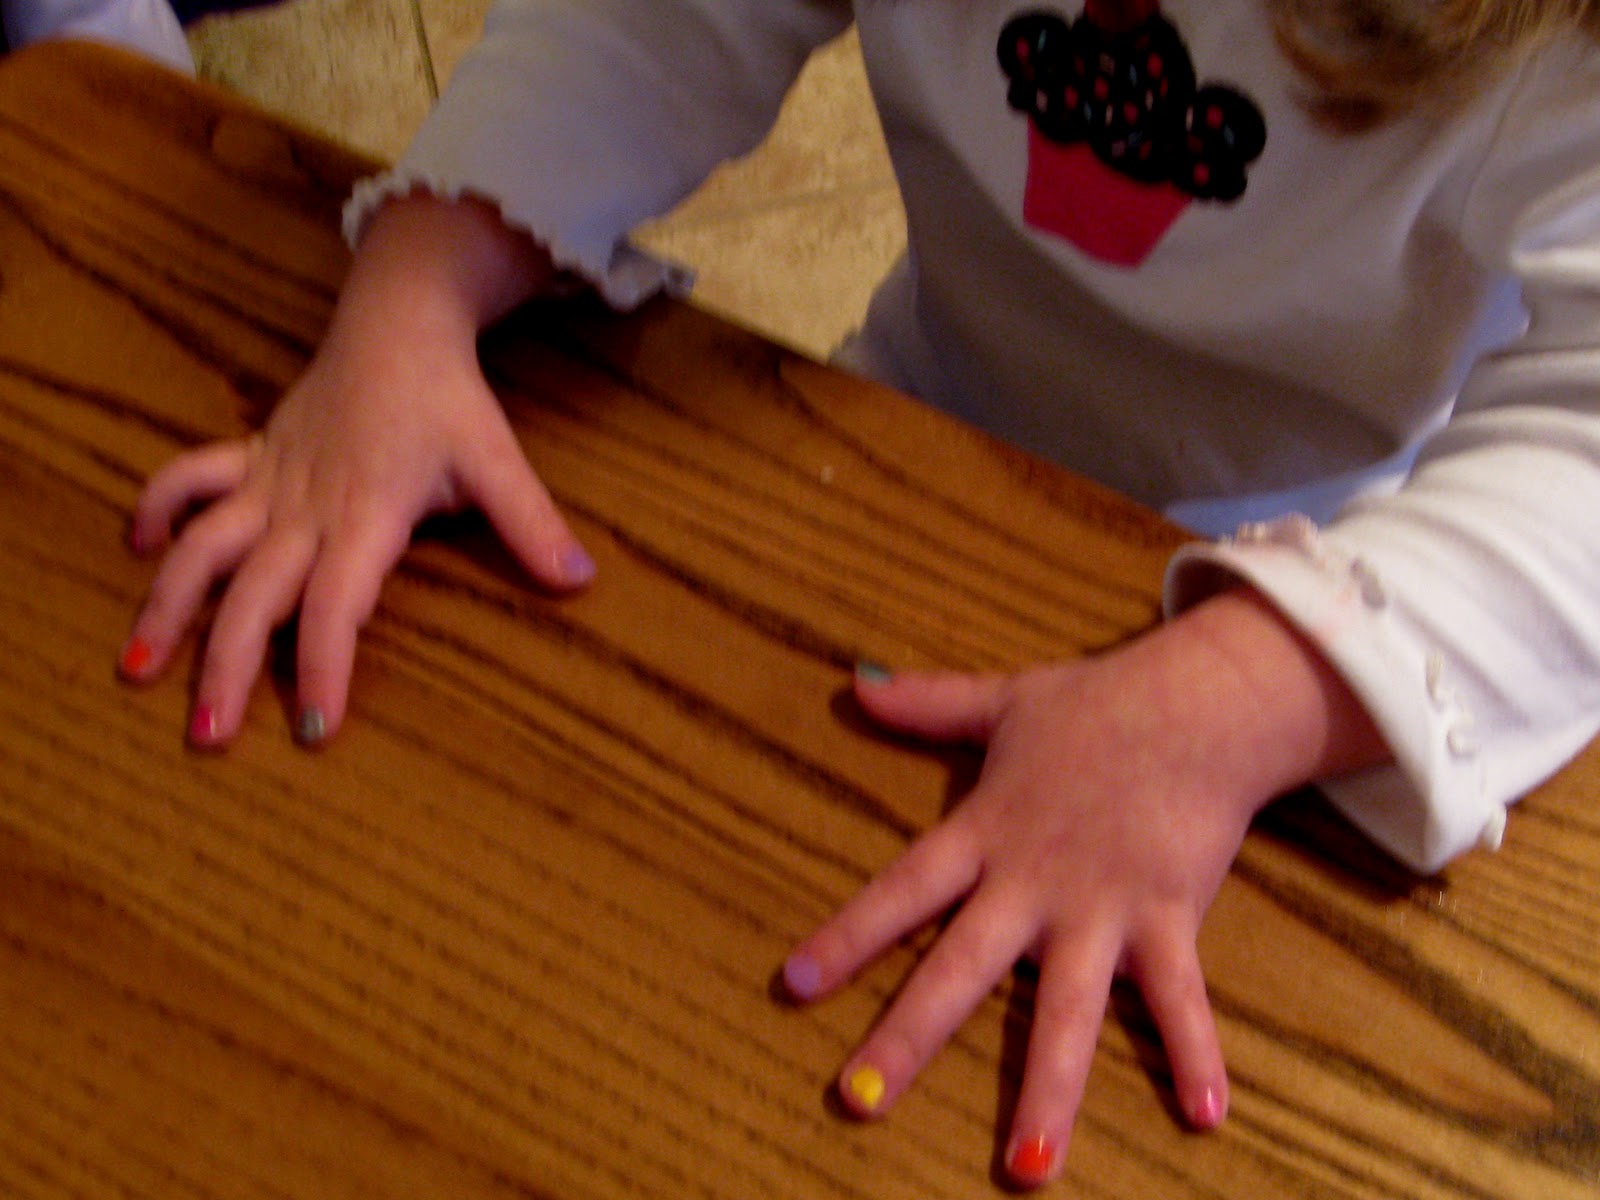
Meanwhile, Boogey had come downstairs to join us so while we waited for the crayons to melt, I painted the girls' nails. If *I* couldn't have a nice manicure, at least the 3 and 4-year old could! :)
Boogey waits (im)patiently for her nails to dry

Man... if only I could wear rainbow fingernails to the office!!

Finally, the crayons were melted so I took them out of the oven, placed them onto a fresh cookie sheet and placed them out on the back deck (where it was damn cold!). 


Ready to go outside to cool.

They set up pretty quickly outside and we peeled back the silicone easily to reveal some super-cool NEW crayons!


They kind of look like the jello jigglers that I usually make in these molds! LOL

The colors weren't as swirly as I had hoped (I probably just "stirred" them too much mid-way) but they still came out pretty cool, I think. :)


I have to keep my eye on Boogey with this one... she still isn't convinced it isn't chocolate!

Yummy looking brown crayon

The silicone molds worked great since the flexibility of the form made it so easy to pop/peel out the crayons. But most directions you'll find on the web discuss making them in muffin tins so you don't need anything fancy. Just do a quick google search on making your own crayons/recycling old crayons and you'll find plenty of good tips.


Good luck!!


Pin It!

Wednesday, September 15, 2010

Improvised Toothbrush Holder

So I know lots of people like to keep their toothbrush hidden away in the safety of a medicine cabinet or such. But not me. I like to keep my toothbrush on the counter -- within easy reach. I mean, you never know when you're going to have a toothbrushing emergency!

I must brush my teeth right this second!! I don't have time to be opening up all kinds of DOORS just to gain access to my toothbrush!!!

Or maybe I'm just lazy. Truth is, it is just how I grew up -- with our toothbrushes out in the open, hanging in one of those ever-so-lovely metal holders attached to the wall (think circa 1970's). Something like this:


And you can argue with me all you want that it isn't very ~pretty~ to see a toothbrush sitting out in plain sight (THE HORROR!) or that it is unsanitary (even BIGGER Horror!). But franky, our master bath isn't Grand Central Station and, well... we follow a strict closed-seat-flush rule in our house. So... I want my toothbrush on the counter, gosh darnit!

But have you tried to buy a toothbrush holder lately?? Clearly the toothbrush holder makers have not actually purchased a toothbrush anytime in the last couple of decades. And the toothbrush makers apparently don't actualy talk to the holder makers, because... they don't fit each other!!  Most "modern-day" toothbrushes are fat at either the top or the bottom or BOTH.


And yet, it seems every toothbrush holder out there has these cute little, tiny, petite holes. And even if the holes are big enough, half of them look like they would topple over every time you breathe on them, let alone when you are grappling for your toothbrush in a foggy morning haze. Um, yeah. Not gonna work.


I need something with a wide opening - like a cup - that won't topple over on me if I look at it funny. Well.... on a trip to Target, I spotted something! The style/shape/color are just what I'm looking for!! EUREKA!!


But wait... No. It's just a paper cup dispenser. And you can't actually store anything in it -- except paper cups.

:(

But then I started thinking... hey, can I make this work somehow? So, I took a closer look at the inside "mechanism" and noted how it worked. There was a flat disc on which you would place your cups (face down) and then a big giant spring under the disc that you would push down and compress as you inserted your pile of cups into the dispenser. It was clear that I could not remove the disc from the outer cup - it was just too big to fit through the opening. Hmmmm... but what if I could remove the spring?


So once I got the dispenser home, I attacked it. I pushed the disc down enough so that I could turn it sideways a little bit in order to gain access to the spring. And after a little finagle-ing (is that a word?) I managed to get the end of the spring out the top. Then I just pulled the rest of it out and the disc simply fell to the bottom -- TADAAAA


After the spring was removed - disc meant as base for paper cups is now floating around in there
Disc now fallen to bottom of holder


I now had myself a perfectly shaped, sturdy "cup" that wouldn't topple over and could easily hold my toothbrush (or whatever else I chose to put in there). Wahoo!


And I liked how it turned out so much that I bought a second one for my makeup brushes (which I do keep in the medicine cabinet :)


Pin It!
Related Posts Plugin for WordPress, Blogger...