Tuesday, April 19, 2011

Easter Egg Specimen Art {Take TWO!}

As you saw in my last post HERE, I tried my hand at some Easter Egg Specimen Art but wasn't thrilled with the end result. So, I decided to try another version. This time I used some foam stickers and again placed them on some card stock from my scrapbooking stash.

Bought this pack of foam stickers at Michaels for $1.79 ($2.99 less 40% off coupon).


I have to be totally honest and say that I don't love this one either. Maybe because the rows aren't perfectly lined up? (I didn't measure anything and just eyeballed it)

I like the sparkle!

In my footed bowl, I placed some glittery eggs purchased last year from the Party Store (on clearance!!). They actually go really well.

I like how the sparkly eggs in the bowl mimic the glittery stickers.

Eh, not that thrilled with my Specimen Art this season, but it'll do. Do you ever do projects that you just feel "ho hum" about?


Pin It!

Sunday, April 10, 2011

Easter Egg Specimen Art {Shortcut Style}


OK, it's that time again....  SPECIMEN ART time!! :) Who doesn't love stylish, fast, easy and cheap? And besides, it wouldn't be me if I didn't pull out a version for Easter! ;)


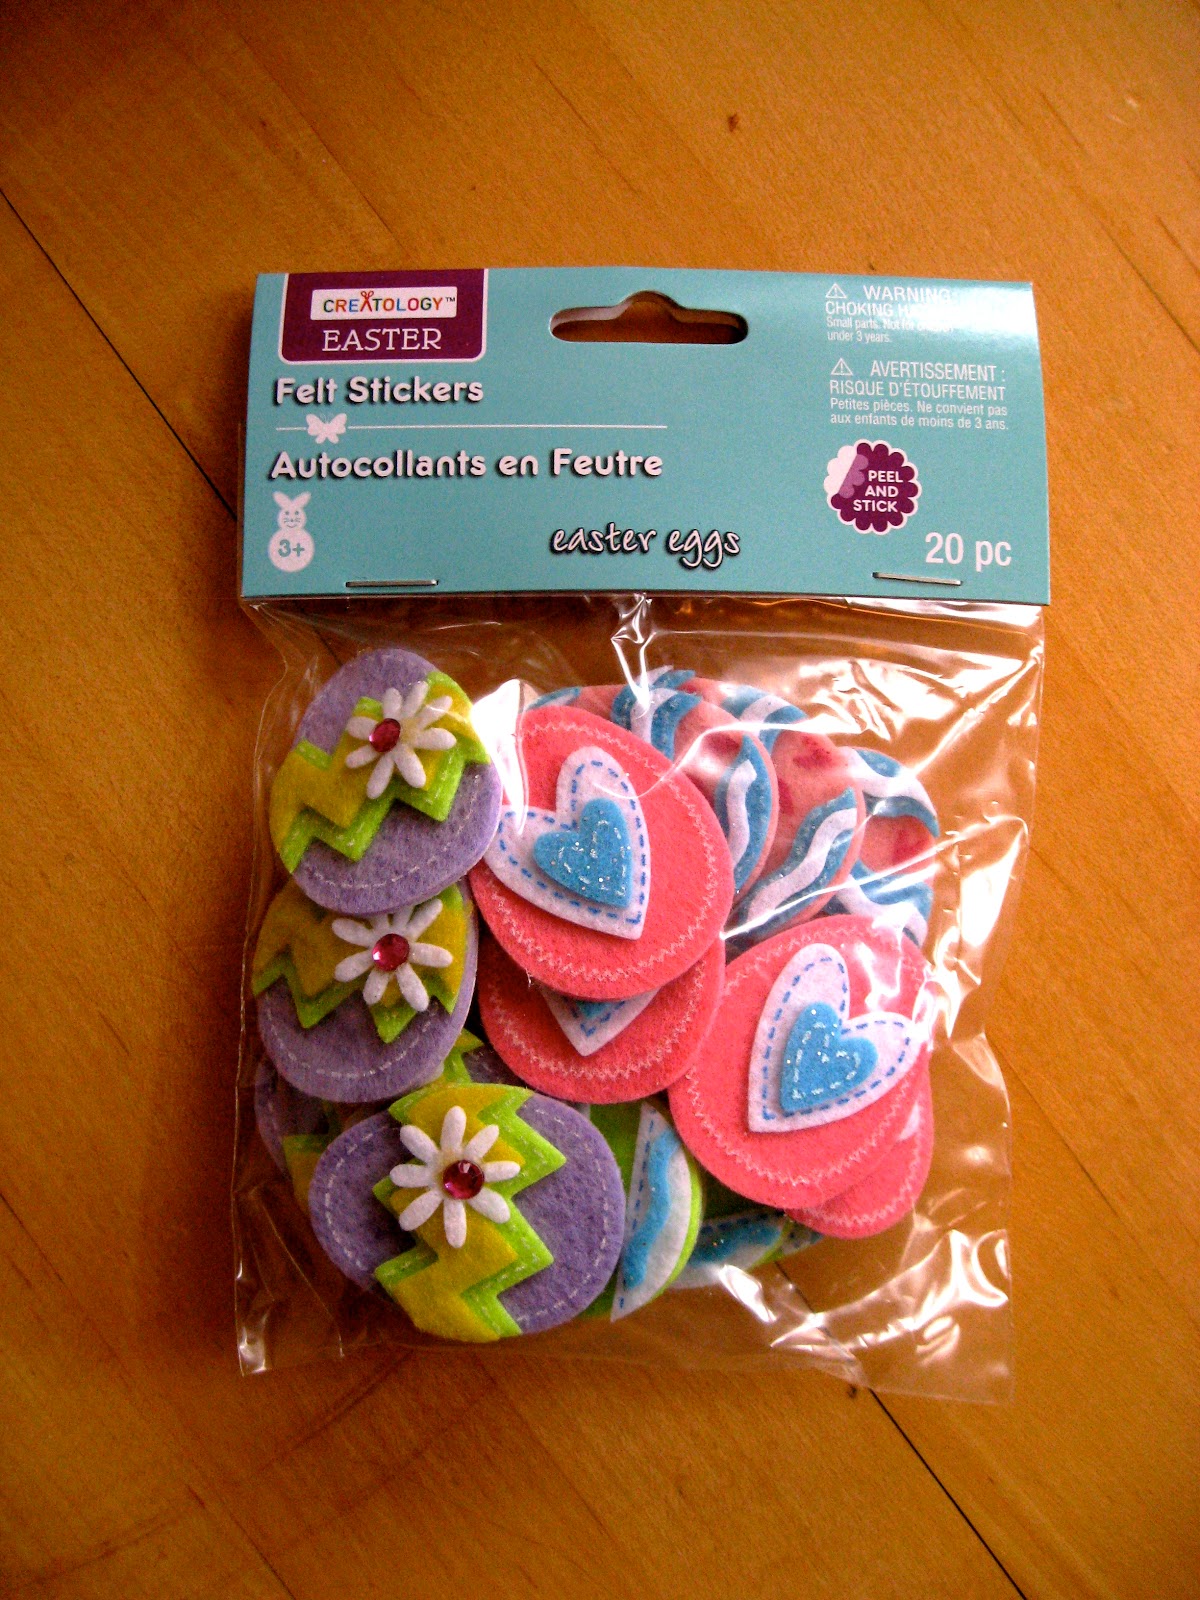
I have to be honest and tell you that I had a really hard time finding "specimens" that I liked at Michaels. I can usually rely on good ole Martha Stewart to have some nice (i.e., not cheesy) holiday stickers. But Michaels had NOTHING by her! I don't know if MS just doesn't make a line of Easter decor or my Michaels just doesn't carry it, but I was bummed.  I decided to try and make these felt eggs work (even though they are really NOT my style).  They were only $1.99 for the pack of 20 eggs and I used a 40% off coupon to score them for only $1.20! 


Once again, I raided my old scrapbooking stash for some colored card stock and used the same black frame from all my other specimen art. Aaaaannnnndddd... voila!

Easter Egg Specimen Art


Here it is on the mantle. I'll admit that I don't love it, but it'll do. And, heck, for less than $1 out of pocket (I didn't use all of the stickers and had all the other supplies), not too bad.

Easter Egg Specimen Art

By the way, do you like my bunny?? I found him at the Habitat for Humanity Restore Store a few weeks ago for only $1! I don't love the mottled blue spots on him and had originally considered spraypainting him. But when you aren't right up close, you can't even notice them so I just left him "as is". Cute, huh?


(In case you are a new follower,  
Here are links to my other forrays into specimen art if you're curious:


This project was featured! Thank you!!

UndertheTableandDreaming


Featured at Truly Lovely


Linking up to the parties here:
Also joining in the CSI Project's Easter Challenge!
Visit thecsiproject.com

Pin It!

Wednesday, April 6, 2011

Super Easy Oreo & Fudge Ice Cream "Cake"

We went over to a friend's house last weekend for dinner. She is an old friend that I first met almost 20 years ago. I had just recently moved to the DC Area and didn't have many galpals yet. But she and I became fast friends and soon hung out together all the time. However, about 10 years later, as life has a tendency to do, we eventually went our separate ways. Neither one of us can remember why we stopped hanging out or even exactly when. But it happened. Jobs, new friends, boyfriends, husbands, kids... you know, LIFE happened. And sadly, we just fell out of touch. No fight, no big "drama"... just drifted apart. Has that ever happened to you? :(

But a couple of years ago, through the magic of Facebook, we reconnected and it has been a blast catching up on the past 10 years!! She and her husband live less than 10 miles from us and her 2 kids are just about the same age as mine. We've been trying to make an effort to hang out as families and, thankfully, everyone really gets along well. BONUS! :)

So they had us over for dinner last weekend. She made an awesome homemade lasagna. And I offered to bring dessert. (and wine!! ;)  I decided to make a recipe I had pulled out of Kraft Foods "Food & Family Magazine" back in 2007 and have never had the chance to make yet. And, I gotta say, it came out reallllly good! I was kind of sad that she asked me to leave the leftovers at her house but I was able to negotiate a trade of another dinner's worth of lasagna so it all worked out. ;)

This is not my original recipe. You can see the "real deal" (and even a video) HERE at Kraft Foods. But here is the reproduced recipe with my non-professional photos.

Oreo & Fudge Ice Cream Cake:
Prep: 10 min.
Total: 4 hours 10 min (incl. freezing)
Serves: 12

What you need:
Please disregard the cream cheese in this photo - not sure how that got in there!

1/2 cup fudge ice cream topping, warmed
1 tub (8 oz.) whipped topping, thawed
1 package (4 serving size) Instant Chocolate Pudding
8 Oreo cookies
12 vanilla ice cream sandwiches

Pour the fudge topping into a medium bowl. Stir in 1 cup of the whipped topping with a wire whisk until well-blended. Add in the dry pudding mix; stir 2 min or until well-blended. If your fudge topping mixture seems too thick to spread easily stir in a couple tablespoons of milk.

Creamy chocolate goodness!!


Chop the oreo cookies roughly into chunks, then stir them into the pudding mixture.

Feel free to eat a few pieces as you chop...

Oh my... that looks good...


Arrange 4 of the ice cream sandwiches side-by-side on a 24" x 12" piece of foil. Top with half of the pudding mixture. Repeat the layers.

The 4-yr old helped me make this dessert - that is how easy this is!


Top the second layer of pudding mixture with the remaining 4 ice cream sandwiches. The layers will create a neat striped effect when sliced.

yummmmmmmmmmmm


Frost the top and sides with the remaining whipped topping. It doesn't have to look perfect.

My whipped topping got a little too melty but it still worked OK


Bring up the foil sides and double fold the top and ends to loosely seal the packet. Freeze at least 4 hours before serving. Let stand at room temp to soften slightly before serving.


Disclaimer: I forgot my camera when we went to my girlfriend's house so I only had my cell phone - please pardon the lousy photo! Clearly I let it soften a little too much before cutting and I wasn't very neat with my cutting, but you know what? It still tasted DELSIOSO! If you want to see what it is supposed to look like when you cut it, check out the Kraft link I provided above. :)


Lousy cell phone photo does not impair taste in any way - DELISH!


I will definitely be making this again! It will be especially fabulous in the summer!!


Try not to lick your computer screen. Too much. It just won't be the same. Trust me.
Linking up to these parties:



Pin It!

Monday, April 4, 2011

Self-Designed Vinyl Lacrosse Sticks

My nephew's 10th birthday was a few days ago. At the request of my sister-in-law, I created some vinyl wall decor with my Silhouette SD for his bedroom. It was my first "BIG" vinyl project and, I have to say, I think it came out pretty good. 

My nephew "Buddy" has been playing lacrosse for a few years now and the SIL thought it might be fun to have a couple of vinyl lacrosse sticks for his wall. Of course the Silhouette online store doesn't sell an image of a simple lacrosse stick so I had to improvise. I scoured the internet until I found an image of the head and net portion of a lacrosse stick that I thought would look cool... IF I could make it work!!! ;)

It took some fooling around with the Silhouette software but I figured out how to use the "trace" function and was able to transform my "photo" into a cuttable image. We headed over to their house on Sunday afternoon for a brief visit (they only live about 10 minutes away) and Buddy and my SIL helped me get everything on the wall.

Here is the end result...

My DIY, self-designed, vinyl lacrosse sticks

It isn't perfect... but for my first time with a big vinyl project, I think it came out pretty darn good. Buddy seemed to like it, so that is all that matters. Happy Birthday Buddy!!

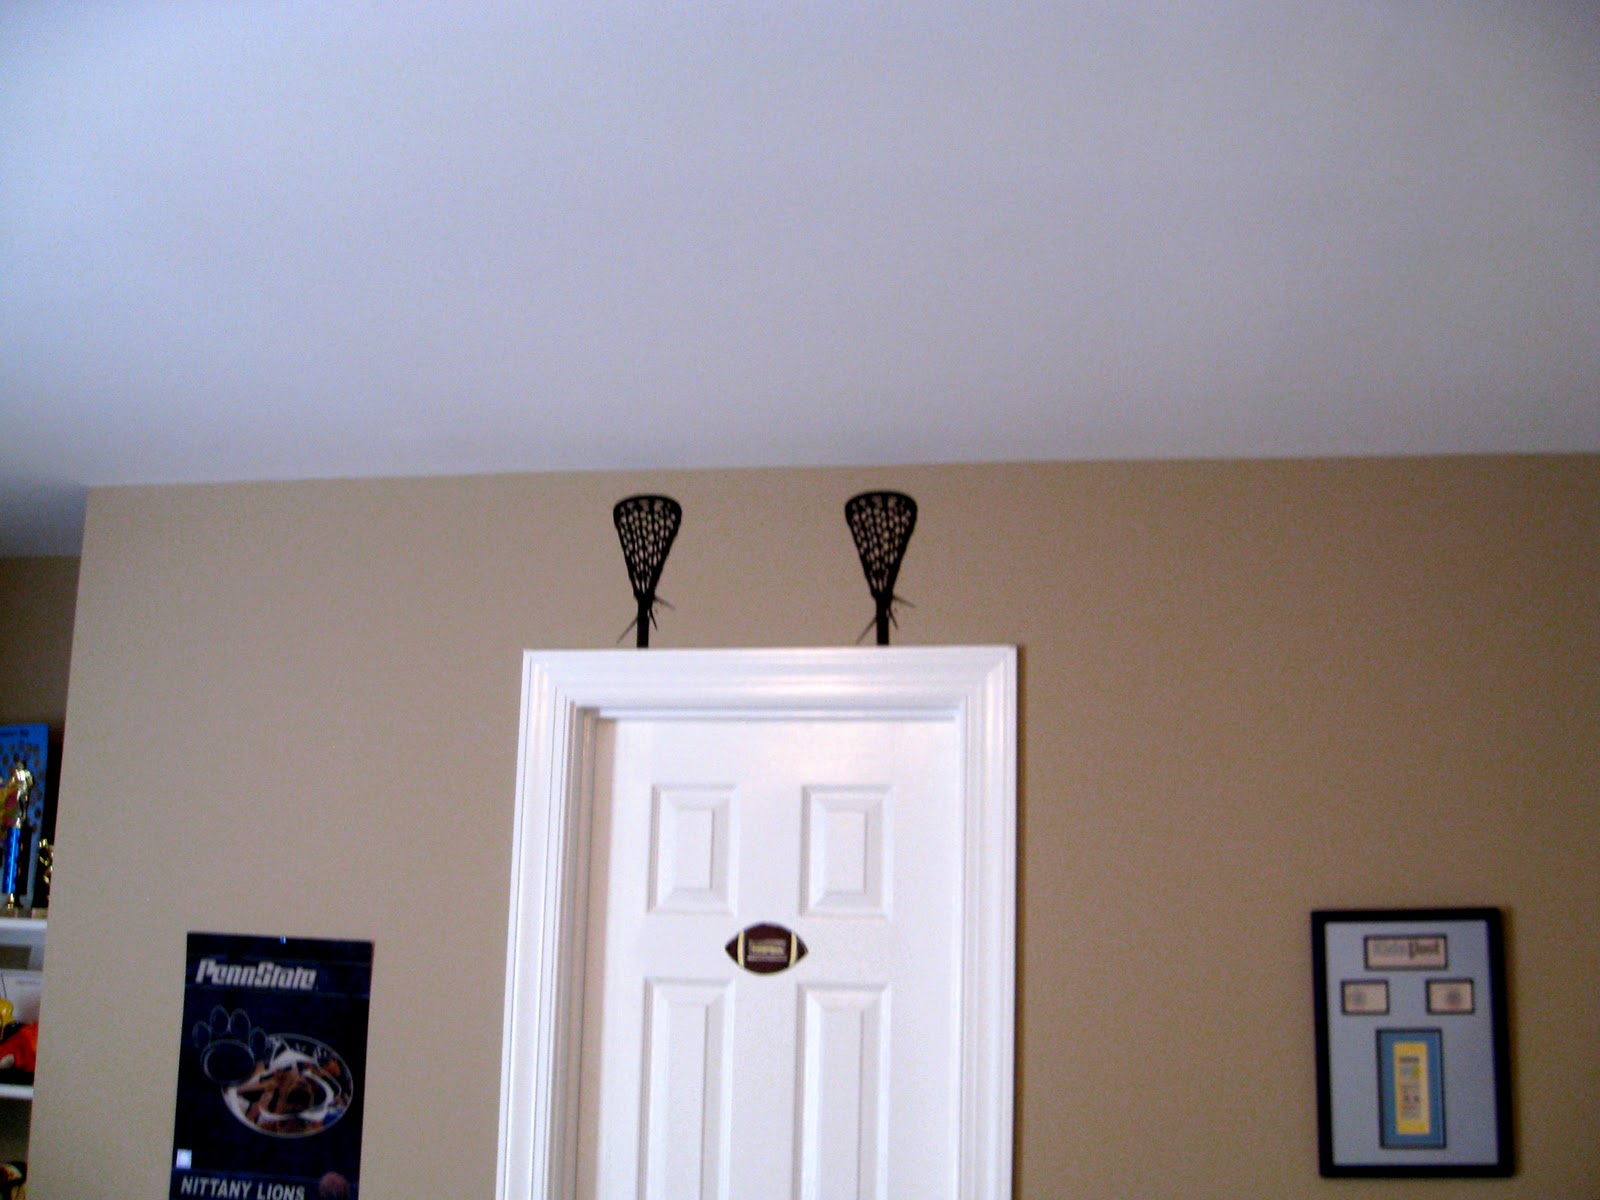
I also added a couple of smaller ones to the top of the door leading to his bathroom.

The first ones I had cut were a little too small for his large wall so we used them above the door.

I am quite pleased with how the whole thing turned out. Especially considering that I had to  create the cut-able image myself. {patting self on back}. What do you think? Not bad for an amateur!

**If you are interested in purchasing a set of these vinyl lacrosse sticks, please contact me via email (see "contact me" tab above)**

Linking up to these parties:
C.R.A.F.T.
Keeping it Simple
Polly Want a Crafter
Polish the Stars
Until Wednesday Calls
While He Was Napping


Pin It!
Related Posts Plugin for WordPress, Blogger...